Quote of the Season

"We are the music makers, and we are the dreamers of dreams." - Willy Wonka

.

.

11.19.2013

Craft Party 2013 - Project #1

Party on craft peeps!  December 2013 is almost upon us .......... so that means it's time to get your crafty on!

This first project I have chosen for the craft party seriously needs a drum roll.


Ashlee at My So Called Crafty Life IS.....(wait for it)..........a genius....

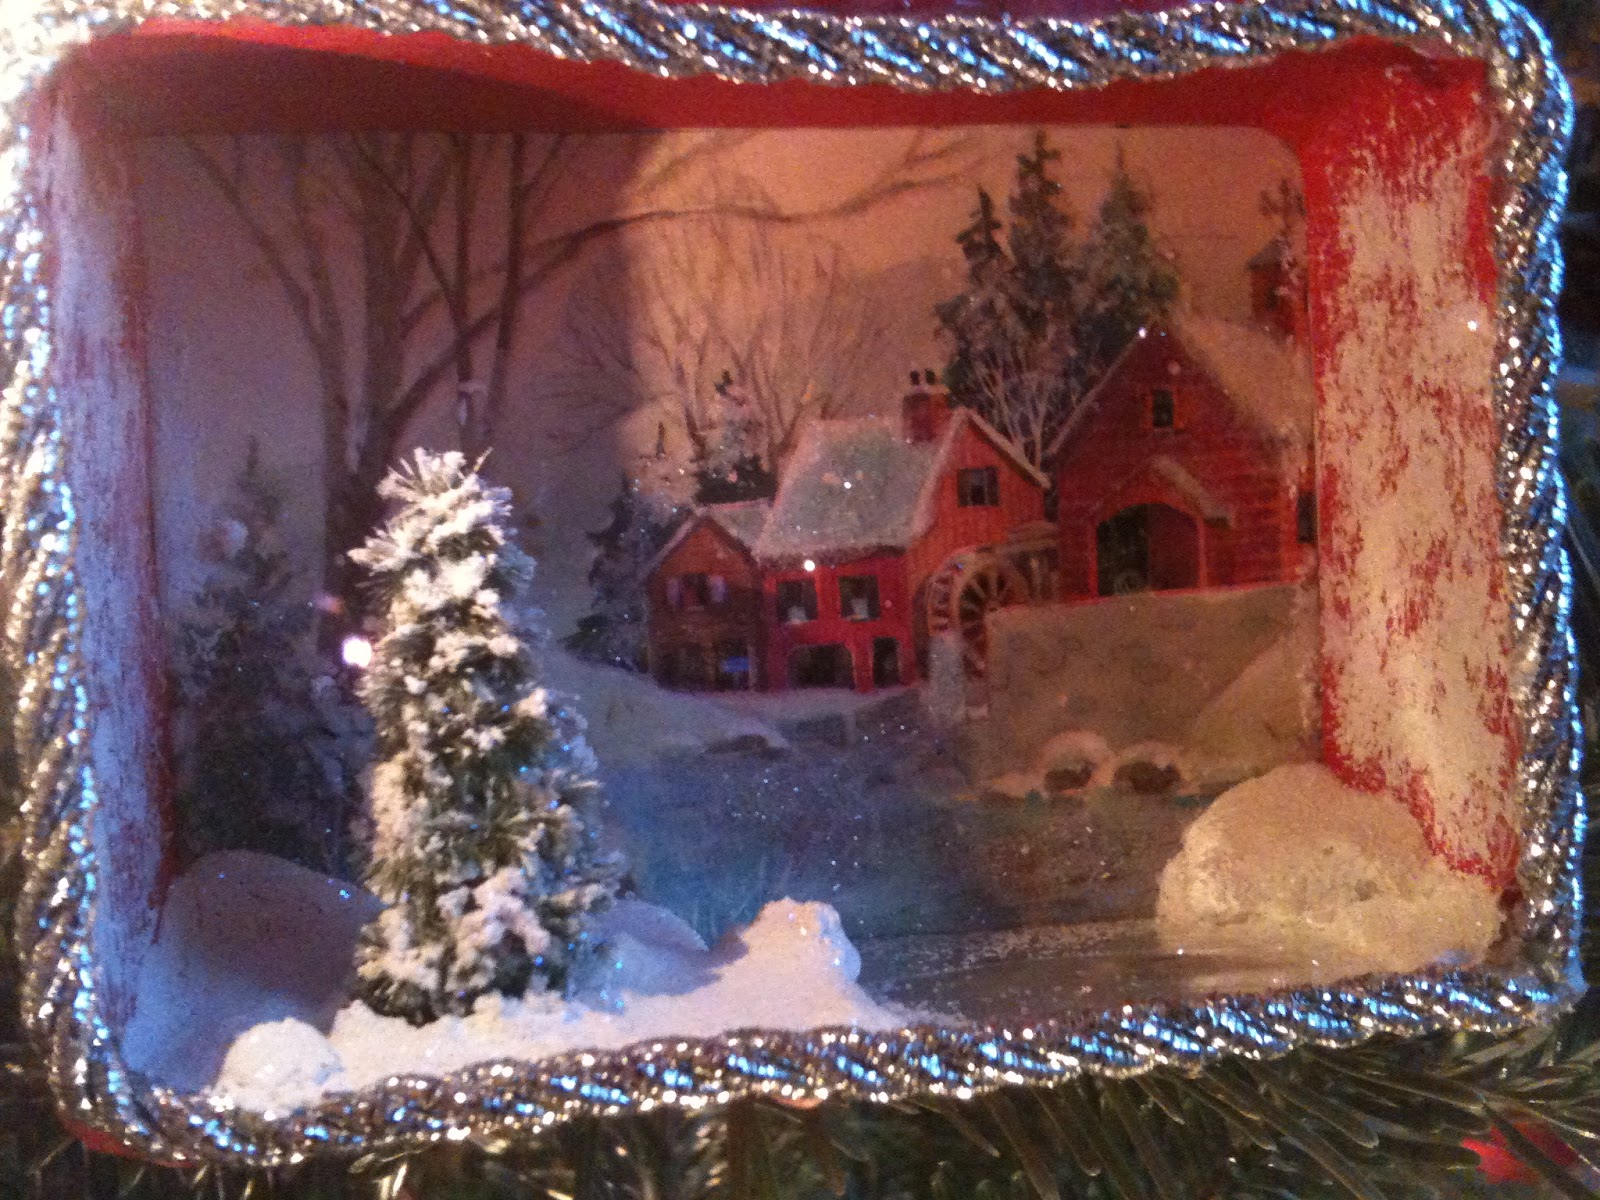
Of course I found this on Pinterest a while ago and it was love at first site.  This project immediately reminded me of some ornaments Grandma Frances had on her tree that I swear she made out of empty clear pill bottles (she worked in a doctor's office).  If you are veteran of the craft party - then you know I love kitsch and I love little scenes (like the box dioramas, little cardboard houses, and little matchbox hidden compartment ornaments - all from craft parties past).

In fact as I finished assembling the first of these beta tester sample ornaments with my good friend, Gretchen, we could hardly stand it ........BECAUSE THEY ARE SO STINKING CUTE!!!!!!


And the best part is you can customize it to what YOU like.  These samples below are very retro and kitschy but I am also working on some more modern clean lines and more traditional vintage.  I'm officially addicted.

So without further ado,  here you have it-
>
>
>
>
>
>
>
>
>
>


Vintage Inspired Bell Jar Ornaments 
- from Ashlee's DIY instructions at My So Called Crafty Life (click on that link to see her original versions)


so I am busy collecting cute little stuff for you to use - but remember if you really want something really specific...........bring it.  Etsy is a great place to check for specific vintage miniatures.  Lots of these are vintage cupcake picks.  And if you have extra to share, we will have a sharing table.

I had my mom over last week to beta test this project and check out this cute little carousel inspired ornament with tiny  little carousel animals she had.  Don't you just love the red and white stripes and polka dots!

But fear not on the supply front, there will be all kinds of options from new materials as well as the vintage stuff we can scrounge up.  This is also a great way to showcase a small special ornament or random piece that you may already have.  Check the bottom of the kid's toy bins for little stuff that might work - you can always bling it up with some glitter (like that year we glittered the plastic animals a la Martha!!!!).  Also think small stuff here - 1-2 inches small.  Like little green army man small...

So, what to bring for this ornament?  Glad you asked.   

  • Your own good pair of scissors and because we will be working with little stuff if you have a pair of tweezers that might come in handy.
  • a shoe box to put your finished crafts in so they can dry undisturbed and you can easily cart them around
Optional:

  • specific stuff  - only if you want - we will have stuff here too - for miniatures think small like 1-2 in.
  • if you have anything to share or donate- like miniatures to go inside (totally not required)
  • I like to bring my own caddy of tools -like multiple sized scissors, wire cutters, needle nosed pliers, tweezers, bone folder, straight edge, small paint brush, and random stuff.  That's just how I roll.
I just made another batch of more traditional, elegant, modern ones - waiting for the glue to dry and I will take some pictures and post.  Until then...

11.26.2012

Final Update for Christmas Craft Party 2012

Five days to go!
Working on the flat star ornaments!  Here are two I have finished (once again pictures are not good but you get the general idea):

                                          Front                                                                            Back


We are stamping on painted wood.  So check through your stamps for anything that might work - especially if you have number and letter sets. 

The one below has a sepia toned photo of Dexter that I printed from my inkjet printer, sealed with some acrylic spray and modpodged.  If you want to do a photo like this - I would recommend a 3x5 size because you want it to cover the whole star.  The stars are about 3x3in. Just remember that it is a star shape so some parts will be cut out.

                                      Front                                                           Back

I'm sticking with these simple colors for the party.  Off white, black, silver, pearl, crystal, some matte gold.

So final summary of stuff to bring (if you have it, can share it, or want it specifically):
  • hot glue gun and appropriate glue sticks
  • felted wool sweaters (especially cream and green)
  • rubber stamps (especially alphabet sets)
  • cereal box cardboard or posterboard larger than 8in on the shortest flat side
  • scissors that you can use on cereal box cardboard
  • scissors for paper or fabric (if you have separate scissors)  
  • alternative covering materials for cone trees like decorator fabric (see previous ideas)
  • a shoe box or something to keep your star ornaments in while they are drying
  • photo images printed on paper min 3x3in to decoupage on the star
  • BYOB
 or just show up - there will be plenty of stuff to make :)  See you on Saturday!!!!!!!!!!!!!!


         Pinned Image

11.19.2012

Update on Craft Party 2012

Now that I have been working on the projects and searching for materials, I have a few updates to the previous post:

Cone Trees - My little forest is growing!  This picture is not very good  - all I've got is my iphone camera right now.

From left to right:  pine cone petals with white snow and glitter painted on, green felted wool scraps, cream felted wool, green felted wool leaves, brown paper bag (thinking about spraying with matte gold) and little white rocks.

  • If you are collecting cereal box weight cardboard - then if you measure the flat rectangle make sure the shortest side is 8 in or longer  - better if 12in or 16in. Then we can make three different heights - 8", 12" and 16". You will learn the technique - so you can make larger cones at home if you so desire.
  • I am deep in the hunt for the covering materials.  If you have felted wool sweaters - desirable colors:  cream, white, green, red, pink, pastel blue.  Remember they should be at least 90% wool - then wash in the machine with hot water and dry on hot to shrink and felt them up.   I scored a few cashmere today at Goodwill.

  • Yarn covered cone tree I just made - I am loving this.  It makes me want to get out my pinecone elves.
  • If you have pinecones - make sure they are sap free.  Otherwise we have a big mess.  If you have collected them outside - you need to heat them in the oven to kill any passengers.
  • If you want to cover with fabric like in the tutorial I referenced in the last post - thicker fabric like for drapes or upholstery is preferred as it will be easier to get it to glue flat without wrinkles.  Since the recent prices I saw for decorator fabric are ridiculous - go to Goodwill and look for widow treatments, table cloths, bed spreads -etc.  Sometimes then come with cool trim (ie tassels) bonus!
  • The link for the fabric covered cones also had ideas for bases to under the cones to add height.  These were mostly candle sticks, wine glasses etc.  Something with a pedestal.  Look in your stuff or get creative.
Green peppermints from Kenneth Brown Designs


Burlap and twine from Uncommon Designs

  Pink glittery wool trees from Cherished Vintage

11.09.2012

Craft Party 2012 - Reboot!


Calling all you crafty foxes!  Plans are in full swing for my 13th annual spreading of the crafty joy of Christmas.  My new theme is simplify.  There are two projects this year with plenty of options for customizing to your personal taste.  Just imagine colors, trims and themes that make you happy.

See below for our project details, materials to save or look for, and tools to bring.


Project #1:  Flat Star Ornaments - inspired by the talented artists behind Reloved Rubbish

I love the simple black and cream with silver, pearl and crystal accents.  I think this would work great using a copy of a black and white family photo modpodged over the wood.  What a great gift this could make for family members!  These stars could even be resized and hung in the window.

For this you might need some needle nose pliers if you have them - or if you have your own embellishments  - bring it on.  I have a bunch of left over chandelier crystal dangles and large beads.


Project #2:  Covered Cone Trees

There are versions of these all over the stores.  I've been wanting to do these for years - but styrofoam forms are too expensive for such a large group.  Thanks to the resourceful and thrifty solutions of The Creativity Exchange and Shauna Mailloux we are in business using posterboard and cereal boxes. 

for my serious pre-planners, things to think about ahead of time:
  • Where do I plan to display this?
  • How tall do I want it to be?  Do I want a star or additional topper?
  • What size should the base be in order to fit in the space? (some mantels or shelves can be narrow)
  • What kinds of materials do I prefer for covering?
  • Do I want to set it on a base for more of a topiary look? (think vintage candlestick or pedastal dish or dowel rod and a container)
  • If the underlying cardboard will show even a little - consider what color to paint it or cover with a colored paper.
Or just come and learn how to make one - and then take that knowledge home and go crazy with creativity!


Covering choices that will be provided include:
  • felted wool from my stash
  • yarn
  • paper (wall paper, craft paper, brown paper)
  • dried beans and peas
  • some pine cones
If you want to bring something else - ideas for materials to cover: tinsel garland, white feathers, jute cord, ribbon, trim, petals from pinecones, fabric, feather boa, large sequins - be creative and find something to reuse

Pinned Image

Official List of What to Bring (if you already have it):

  • scissors that you can use on cereal box cardboard
  • scissors for paper or fabric (if you have separate scissors)
  • cereal box cardboard or posterboard out of the recycling
  • hot glue gun and glue sticks that fit it
  • extra embellishments for star ornaments (beads tinsel etc) if you want
  • alternative covering materials for cone trees (see ideas above) if you want
  • a shoe box or something to keep your star ornaments in while they are drying
  • needle nose pliers if you have them
  • BYOB
Check back again for changes or additional information.


Pinned Image

11.14.2011

Party on hold for 2011!!!!!

After 12 years in a row, I am taking a mental health break this year due to graduate school demands among other things.  I would rather come back next year renewed and excited.

If you just can't live without your dose of Christmas crafting, get your own little party going with a few friends - there are already several regular spin-off parties to this one.


Wishing everyone the very best Christmas season with all the magic you can muster!


11.26.2010

Craft Party 2010

We've moved to a new location so I don't have to clean my house!  Joy's House is hosting us in their beautiful new facillity.

So be prepared for a much better space and to see where your donations have been put to good use for the last few years.

It's that most wonderful time of the year! 3 crafts - one night!  Time for the preview.  I'm so excited about the choices. Here you go:

Project #1:  Mini Mitten Ornaments or Mini Mitten Garlands

Break out the felted wool!  Trim possibilities galore - dig out your leftover scraps for embellishments.
 
Mitten Ornaments, Set Of 5
These are all project images from the internet.  When my elves and I make some we will post them.


Project #2 - Hidden Compartment Ornaments

Altered matchboxes are all the rage so why not make ornaments or stocking stuffers with hidden compartments?  You thought last years' boxes were cool - just wait.  Another chance to use up scraps of everything! Start collecting those miniatures and other ephemera if you need something particularly special.


These are all images of ideas and projects ripped from other artists on the internet to inspire us.  When I get some done, I will post my creations :).


match box shrines from Jewel (aka magpie moon) in Arizona. owl and fairy     Jeanne LaRocco, pray

Project #3:  Miniature Fresh Boxwood Topiary Trees

No pictures for this yet - you'll just have to use your imagination.  I'll be trimming my boxwood hedge hard.  If you have boxwood trimmings of your own you can donate - please let me know.

Also if you have floral wholesale status, I could use some help getting discounted oasis.

What to bring: 
  • your own paper cutting scissors and wool felt cutting scissors (if you have different scissors for different things otherwise just bring one good sharp pair)
  • bits of trim, beads, miniatures, buttons, yarn, images and other ephemera for decorating mittens and using on matchbox ornaments
  • tweezers and manicuring scissors or other tools for working with really small stuff on the matchbox ornaments.
  • some sort of large sturdy shoe box or copier box lid to keep your stuff together
  • If you want a large matchbox, you will have to bring it.  I will have available the standard size small ones for wooden matches.
HO HO HO!

11.17.2009

December 2009


Current Project Ideas

Project #1 - Recycled wool mini wreaths (easy) or Wool Bird ornaments
The felted wool sweaters are perfect for these projects. The material is nice and pouffy. I have plenty of recycled sweater supplies for this one.

tools: wire cutters, needle nose pliers, sharp scissors

Project #2 Vintage Style Pinecone Gnomes (Beginner to Intermediate Level)
I have little pinecone elves that my Grandma Frances bought at Woolworth's for 10 cents a box in (I am guessing) 1940's or 50's. I found these new examples and couldn't resist. Pinecone, wooden bead, pipecleaners, glue, and wool felt - all on my list of favorite things.


Project #3 Tiny Mixed Media Collage Ornaments
(Intermediate to Advanced level)
tiny repurposed ribbon spool with vintage seal on the back
Great things come in small packages! Reuse and recycle all the tiny bits of stuff in your craft stash. In my stash, I have been hording small cardboard jewelry boxes and other tiny containers. I have always loved dioramas. So we are putting it all together in a nice little Christmas package.
Start thinking about a theme now and collect any specialty ephemera for your project. I will provide lots of basic stuff. I have plenty of boxes and containers in a variety of sizes.

Materials: the sky's the limit! glitter, trim, paint, paper, Christmas cards, polymer clay, beads, sequins, doo-dad's, snow paint, pipe cleaners, photos, junk, tinsel, rubber stamps, whatever.....


Tools: sharp scissors or exacto knife for cutting paper, tweezers for placing small items, toothpicks for glue, brush for mod podge


Christmas morning with frozen stream and vintage card background.
  This is the first one I made!


Disco ballerina with some vintage bling.


vintage card background for deer and tinsel trim

Repurposed an empty ribbon spool for a round
diorama with a scrap of vintage tinsel for trim


Another repuposed ribbon spool - this has lots of vintage.
The gold foil on the back was lining a box of vintage tags.
The white paper pointsettia on the back came from a vintage card.
The flower, trims and button all came from my late grandmother's stash.


the north pole from outer space!
I think this globe came from
a tube of small animal toys.


Vintage snow couple card inspired this mini box ornament!
That's all for now - see you on Dec. 12th!